
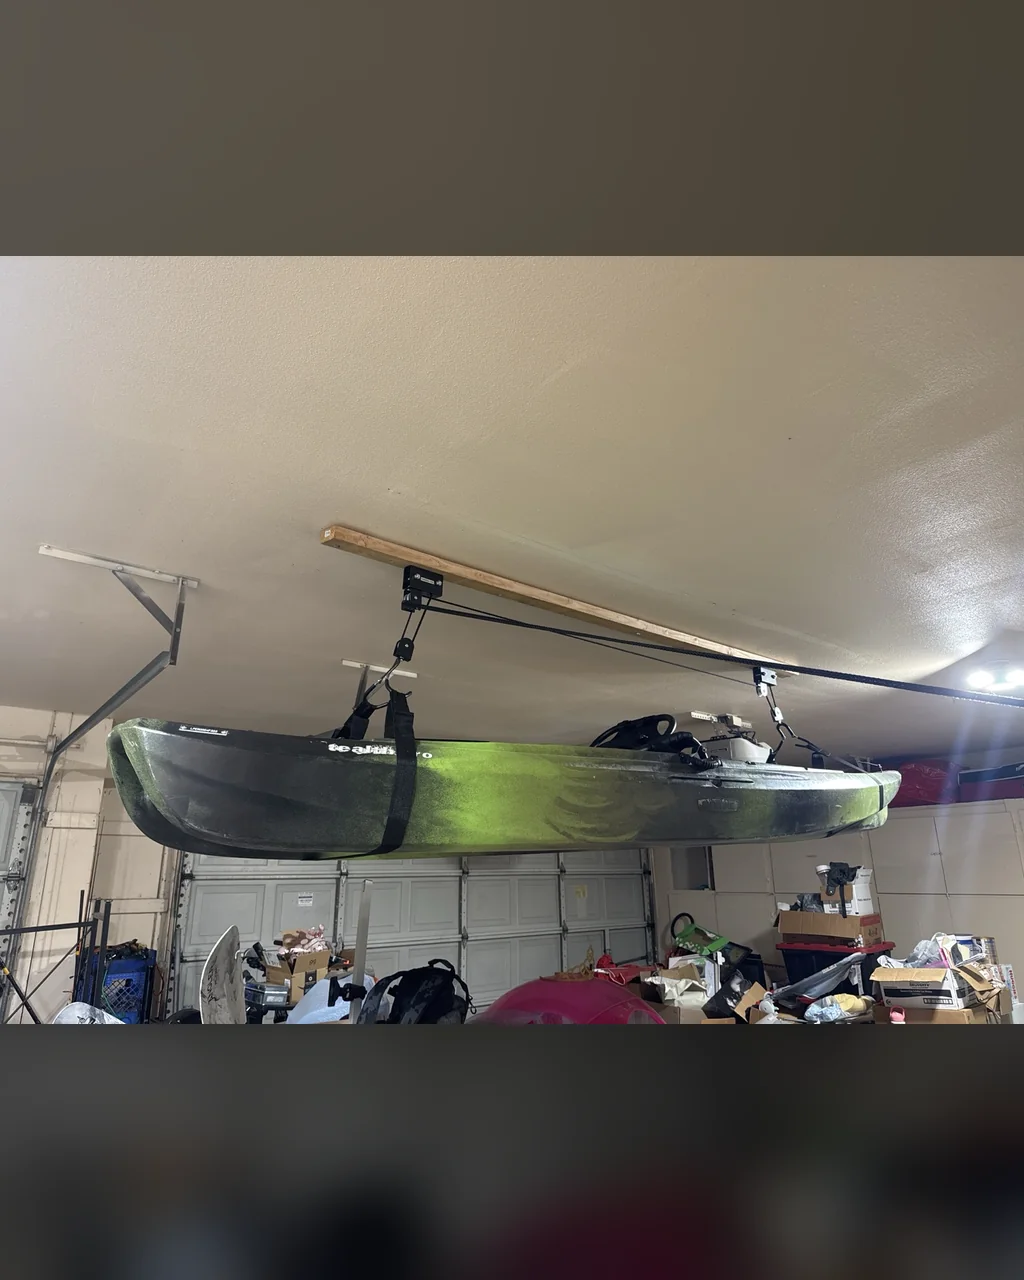
The basics
Project details
- Main support
- Approximately 8-foot 2x4
- Clearance underneath
- Approximately 5 ft 6.5 in
- Lift system
- Pulley, rope, and straps
Goal
What I was trying to do.
Get the kayak completely off the garage floor without permanently giving up that part of the garage for storage.
Planning
The plan.
The plan was to mount an approximately 8-foot 2x4 overhead to the ceiling structure, attach the kayak hoist hardware to that support, and use the pulley, rope, and straps to lift the kayak. The rope would tie off near the freezer area.
Build / process
What I did.
- 01Mounted the approximately 8-foot 2x4 overhead to the ceiling structure.
- 02Mounted the kayak hoist hardware to the wood support and routed the pulley and rope system.
- 03Positioned the straps so the hoist could support the kayak and lift it overhead.
- 04Tested the setup under load. After one lag mounting point pulled, I took the kayak back down and corrected the support.
- 05Remounted the support with a better center mounting point before putting the kayak back up.
- 06Secured the rope at the tie-off location near the freezer area.
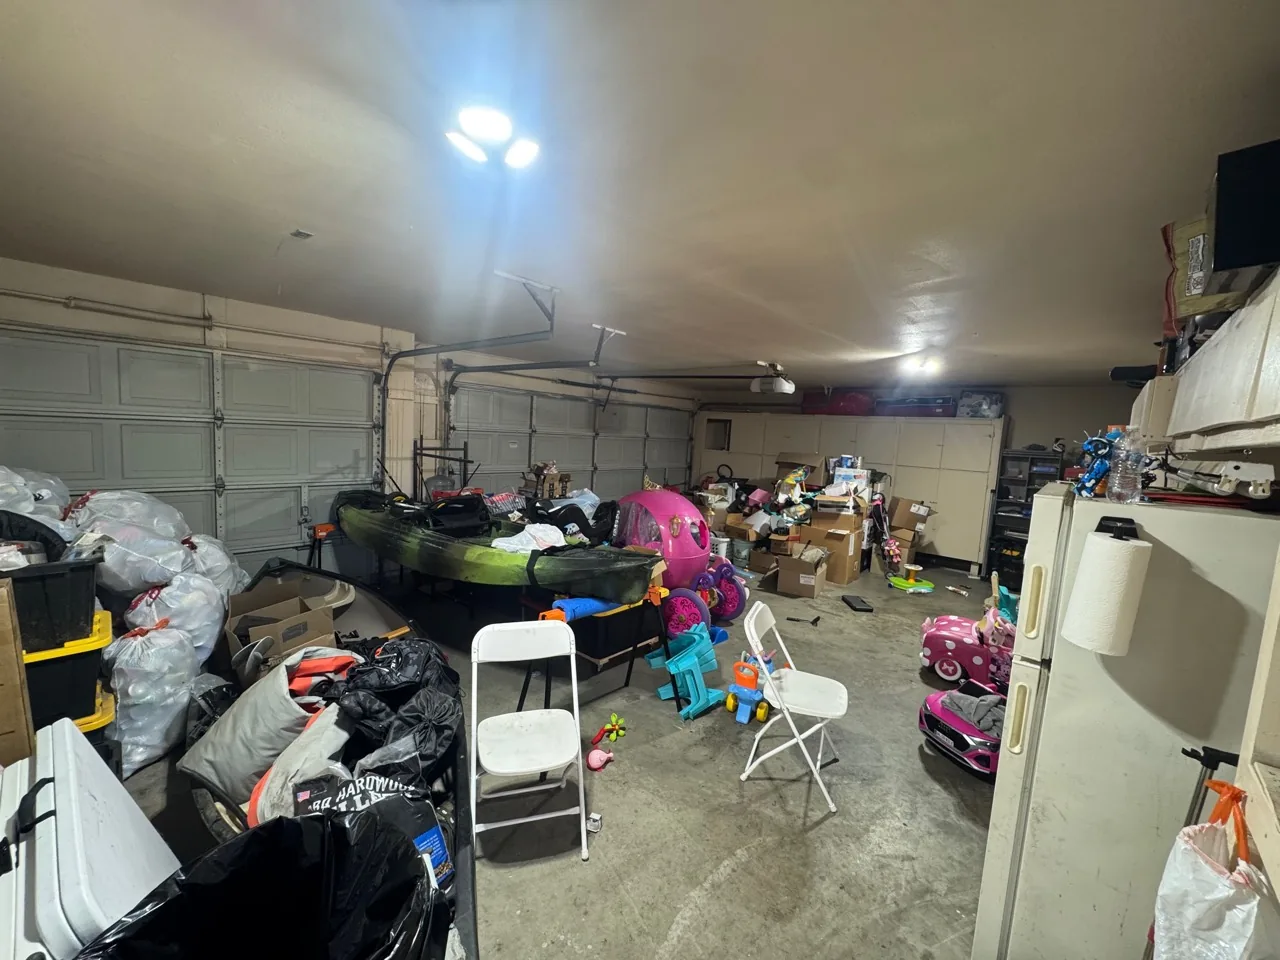
Before the hoist, the kayak took up usable floor space in the garage.
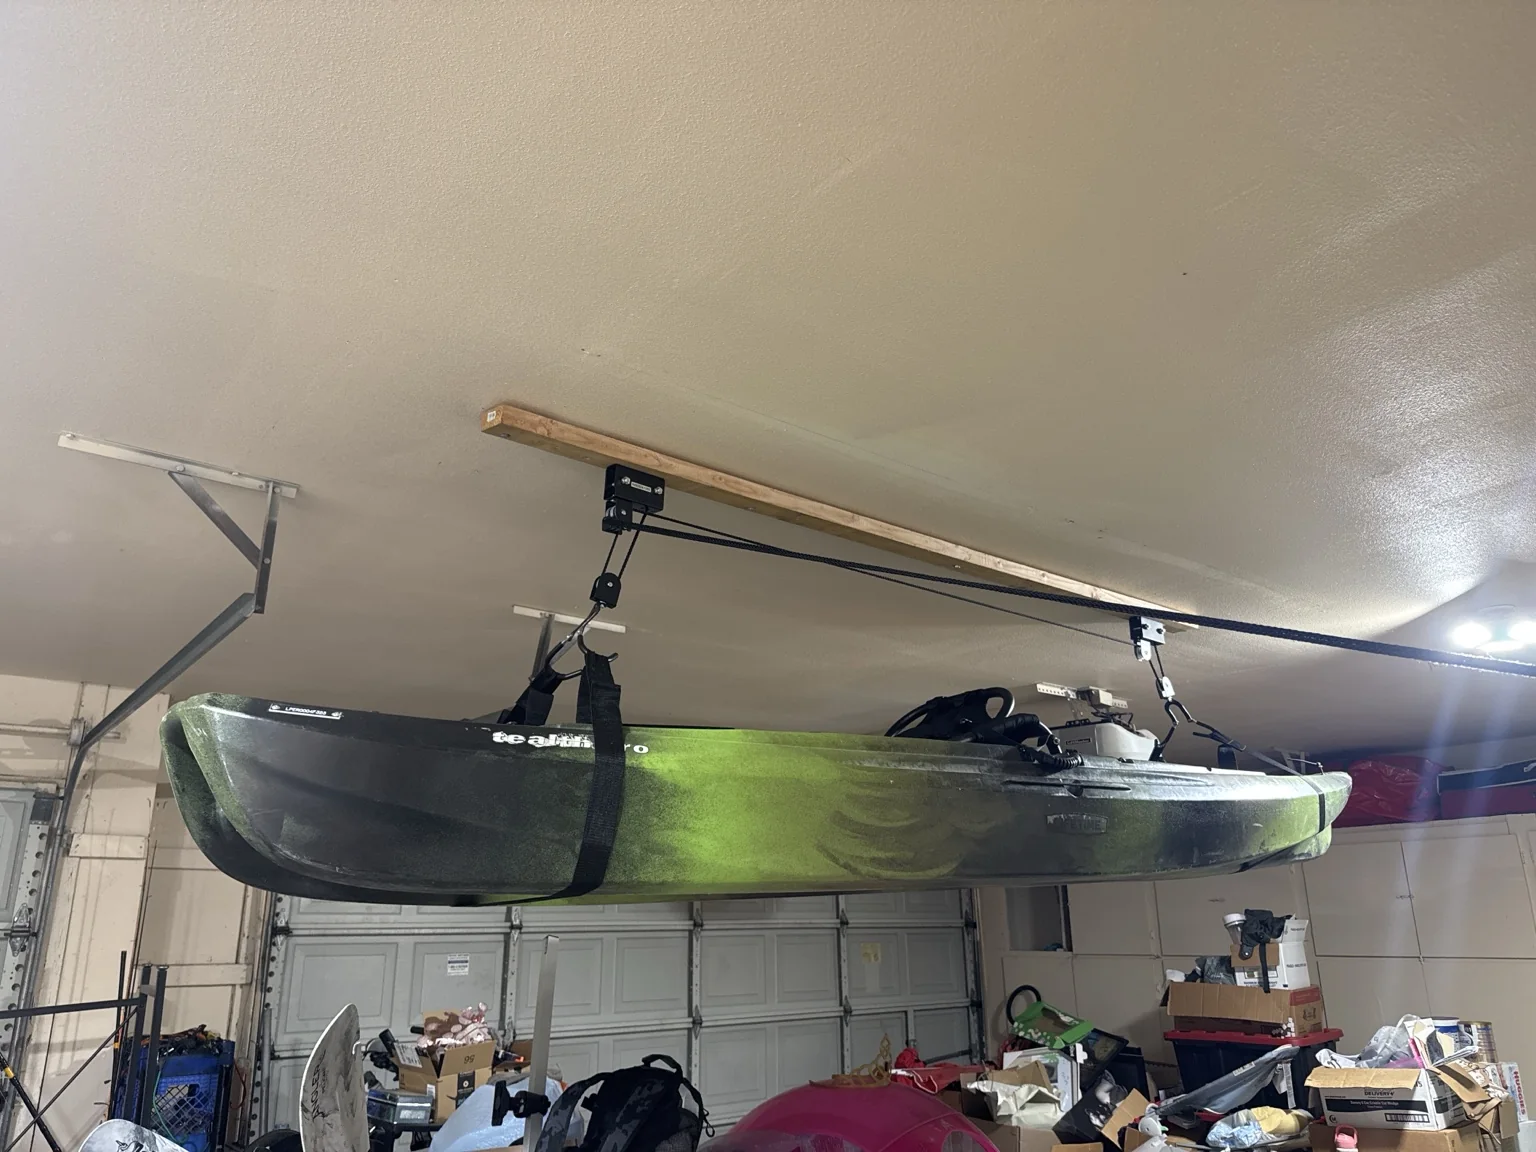
The completed setup gets the kayak off the floor while keeping it available to lower when needed.
From the project
Photos and videos.
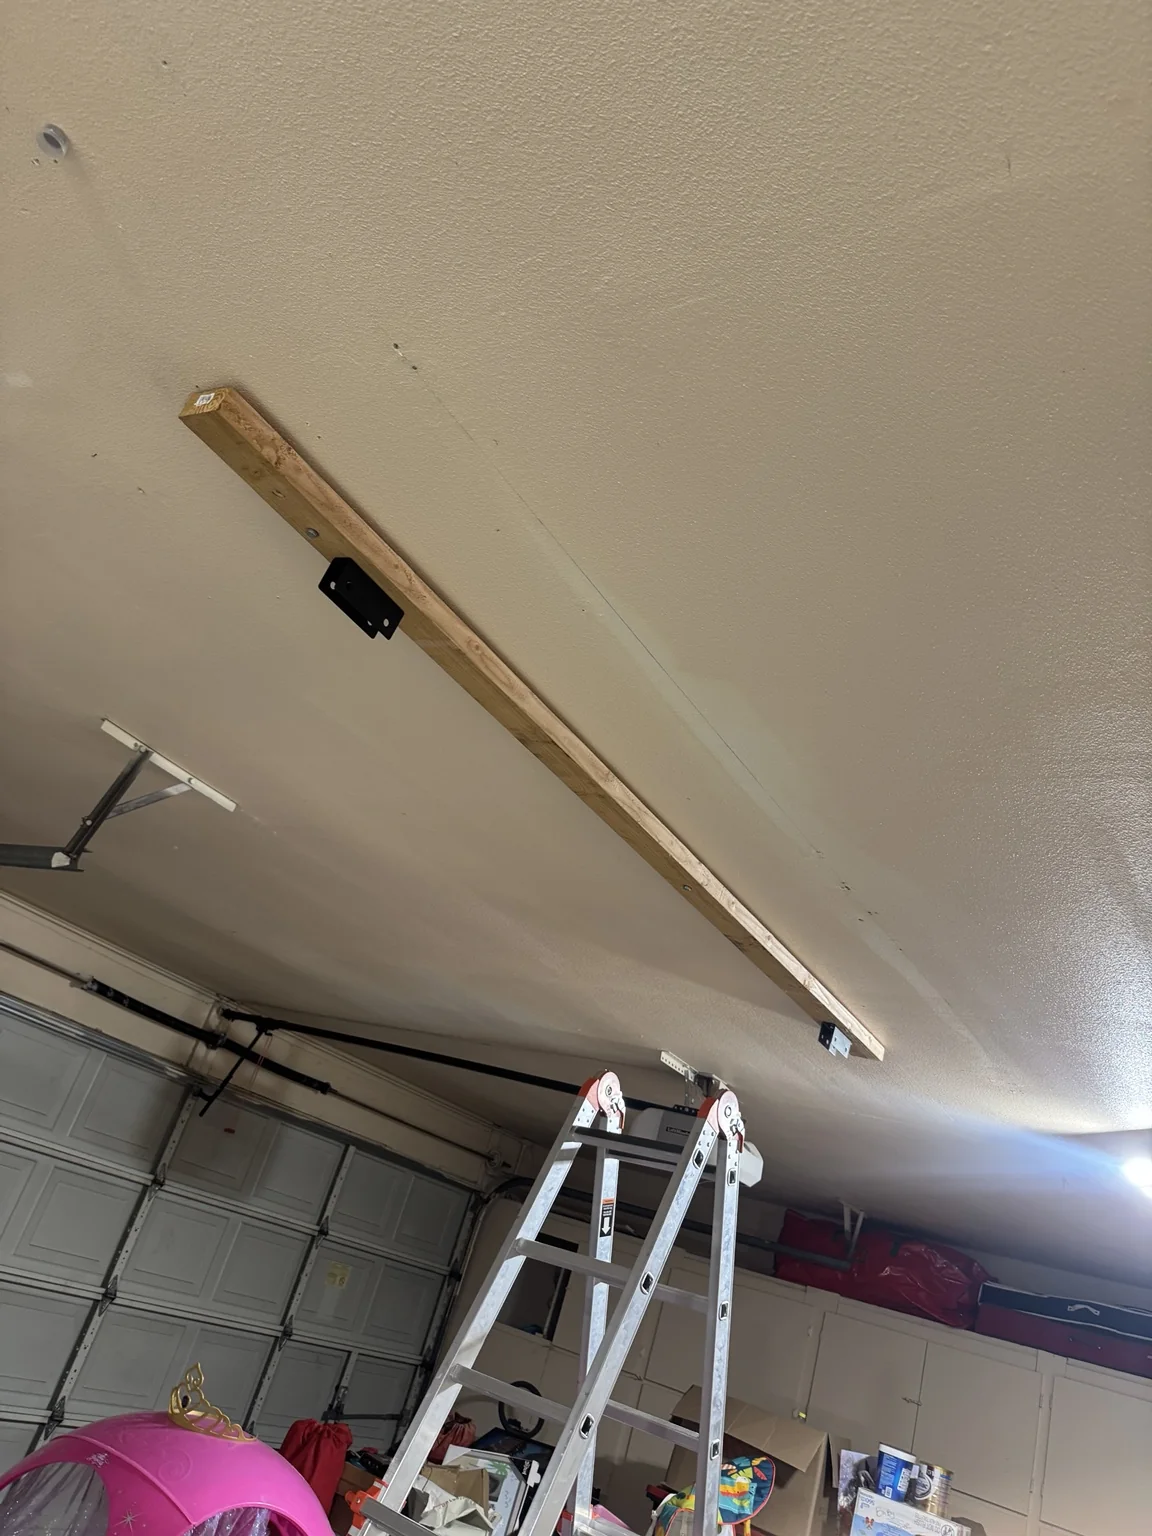
The overhead 2x4 and mounting brackets in place before the completed hoist installation.
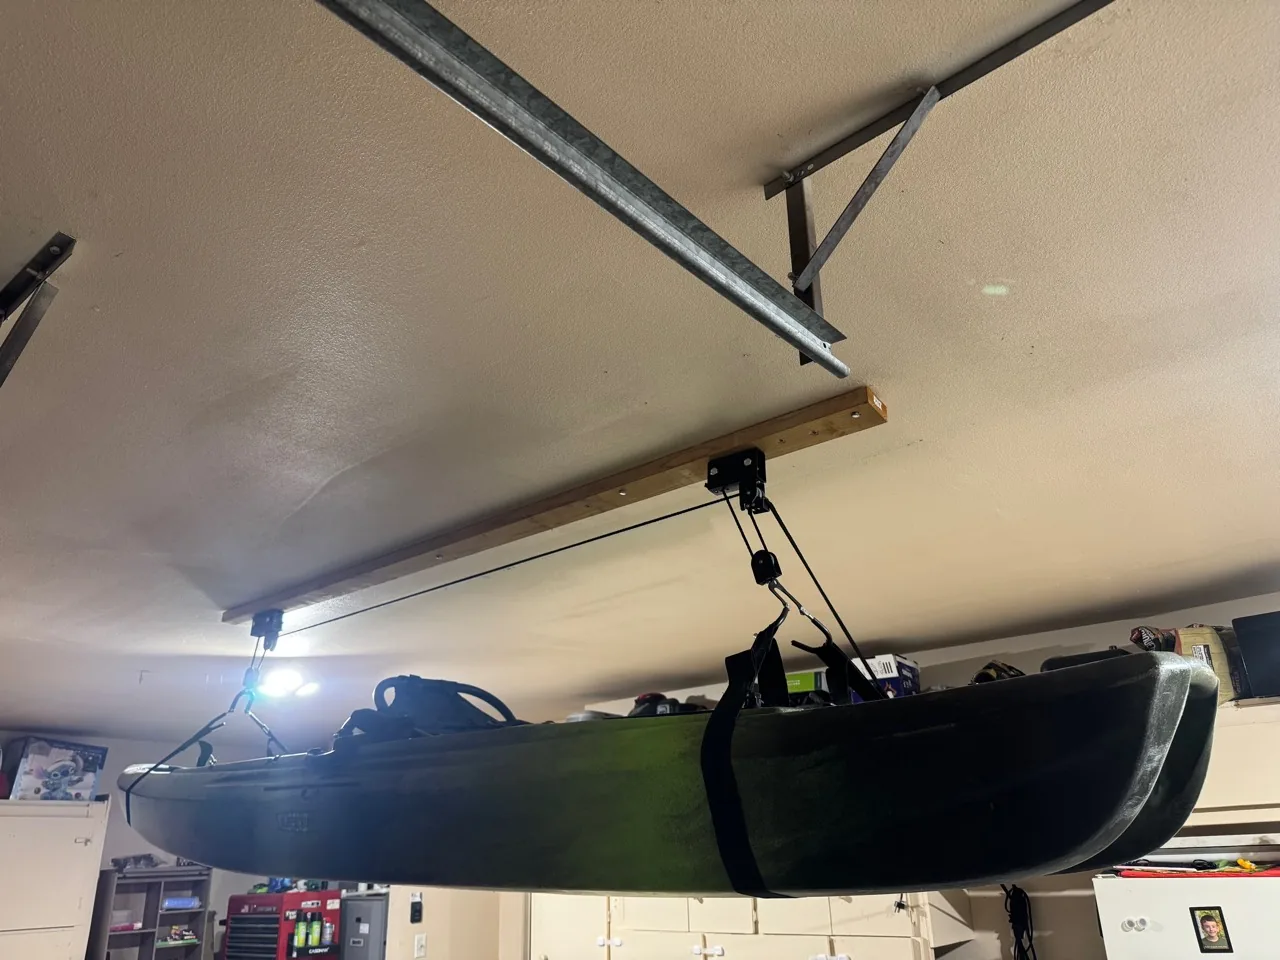
The hoist hardware is mounted to the wood support, with the kayak held by straps.
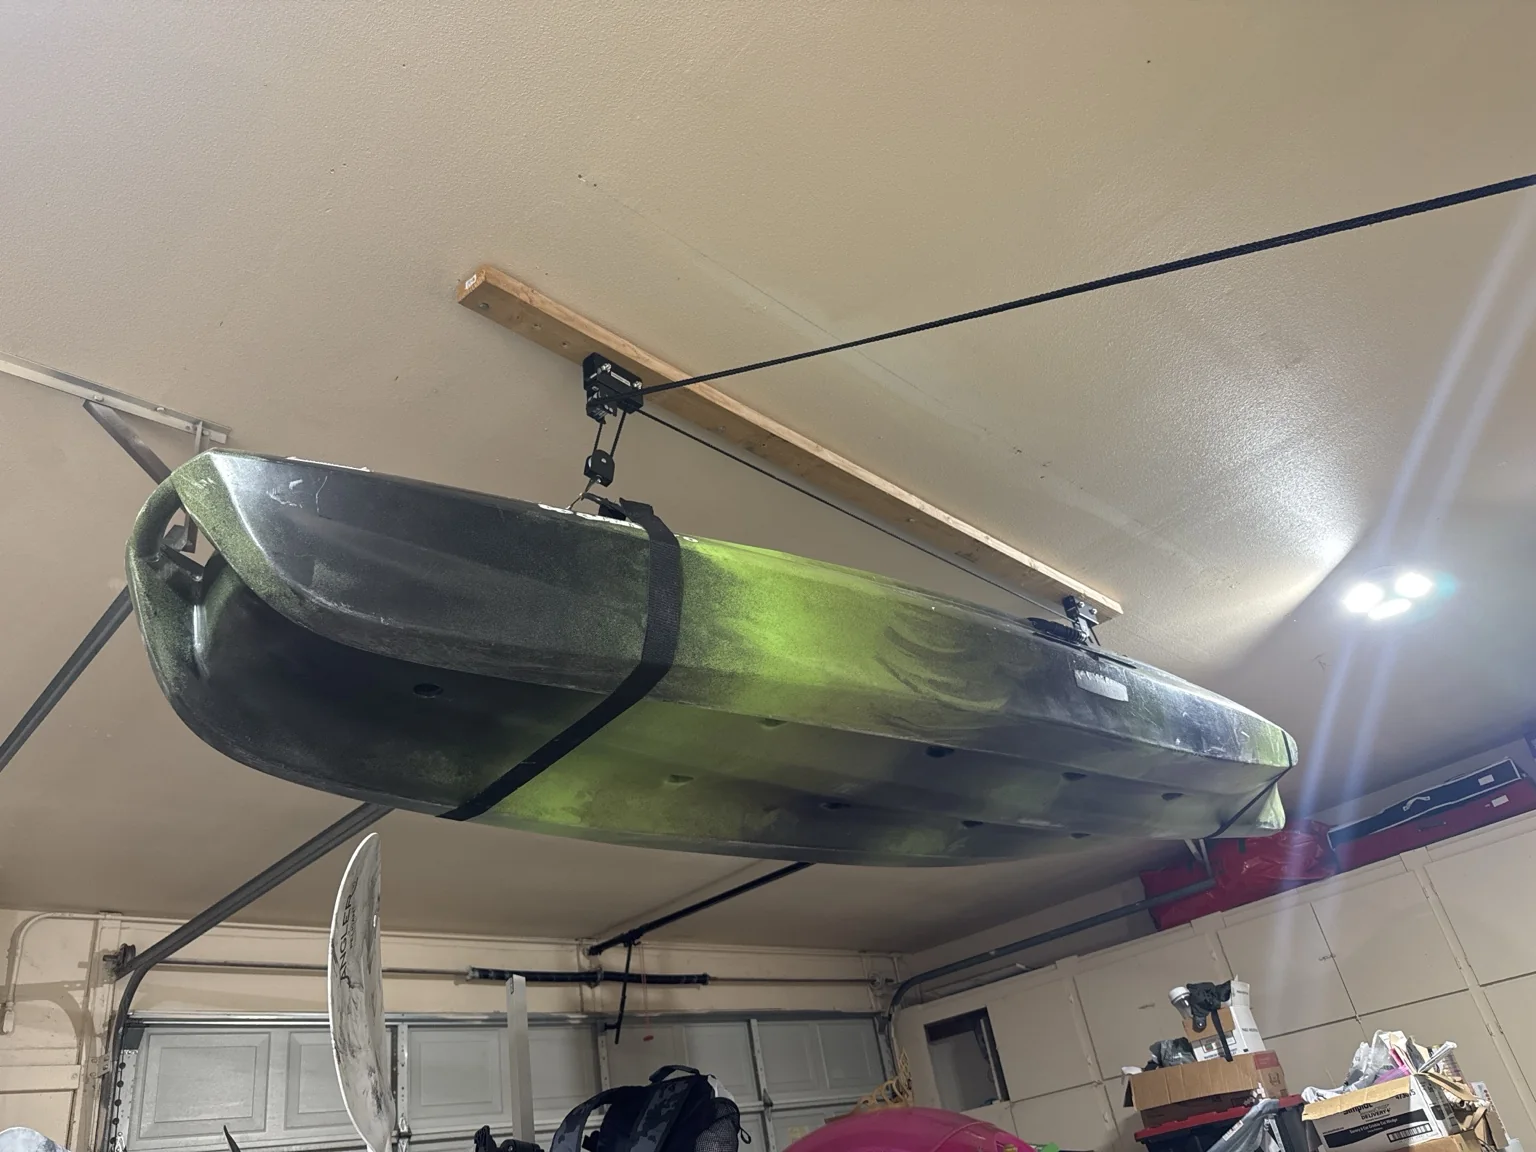
From underneath, the straps, pulleys, mounting board, and rope path are all visible.
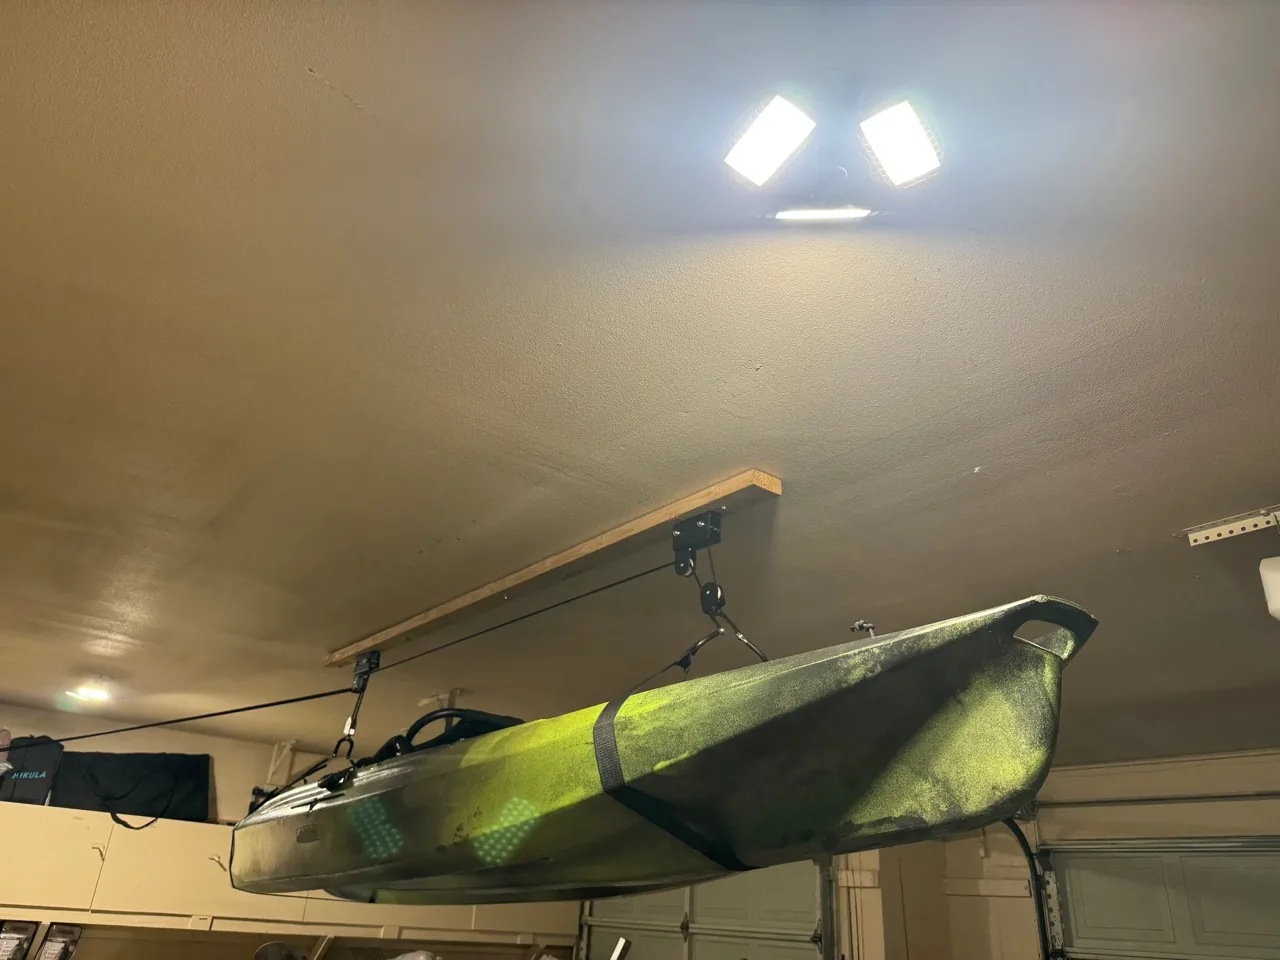
This angle shows the raised kayak and the rope continuing toward its tie-off area.
Materials
- Approximately 8-foot 2x4
- Kayak hoist hardware
- Pulley and rope system
- Kayak straps
- Mounting hardware
What was difficult
The first mounting setup showed me that I needed a better center mounting point. One of the lag mounting points pulled during the initial setup.
What changed
I took the kayak back down and remounted the support with an improved center mounting point before putting it back into use.
Final result
The current result.
Once I corrected the mounting setup, it did exactly what I wanted. The kayak is off the floor, I can still lower it when I need it, and the space underneath is usable again. The suspended kayak leaves approximately 5 feet 6.5 inches of clearance underneath it.
Skills I used
What this one called for.
What I learned
What I took from it.
- Test the mounting setup before trusting it. Getting something installed does not automatically mean the setup is finished. The first mounting point pulling showed why it was worth checking the system under load and fixing anything questionable before relying on it long-term.
- The mounting points matter. The setup worked better after I corrected the center mounting point.
- Small changes can make a DIY project much better. I did not need to throw away the first version when something went wrong. I adjusted the mounting setup and kept improving what I already had.
- Using the vertical space changed the garage storage problem. Getting the kayak overhead freed up the floor without requiring a dedicated storage footprint.
What I’d do differently
Changes I would make next time.
- I’d pay more attention to the mounting points from the beginning and make sure the center support was right before loading the system. I would also test the mounting and support setup carefully before fully loading it. That would have saved me from remounting part of the setup after one lag pulled.