
The basics
Project details
- Started
- March 7, 2026
- Completed
- March 11, 2026
Goal
What I was trying to do.
The turtles needed more space than their previous setup gave them, especially room to swim and get out of the water comfortably. I also wanted something I could keep improving instead of treating the first build as the finished product.
Build / process
What I did.
- 01Cleared the existing weeds and prepared the area.
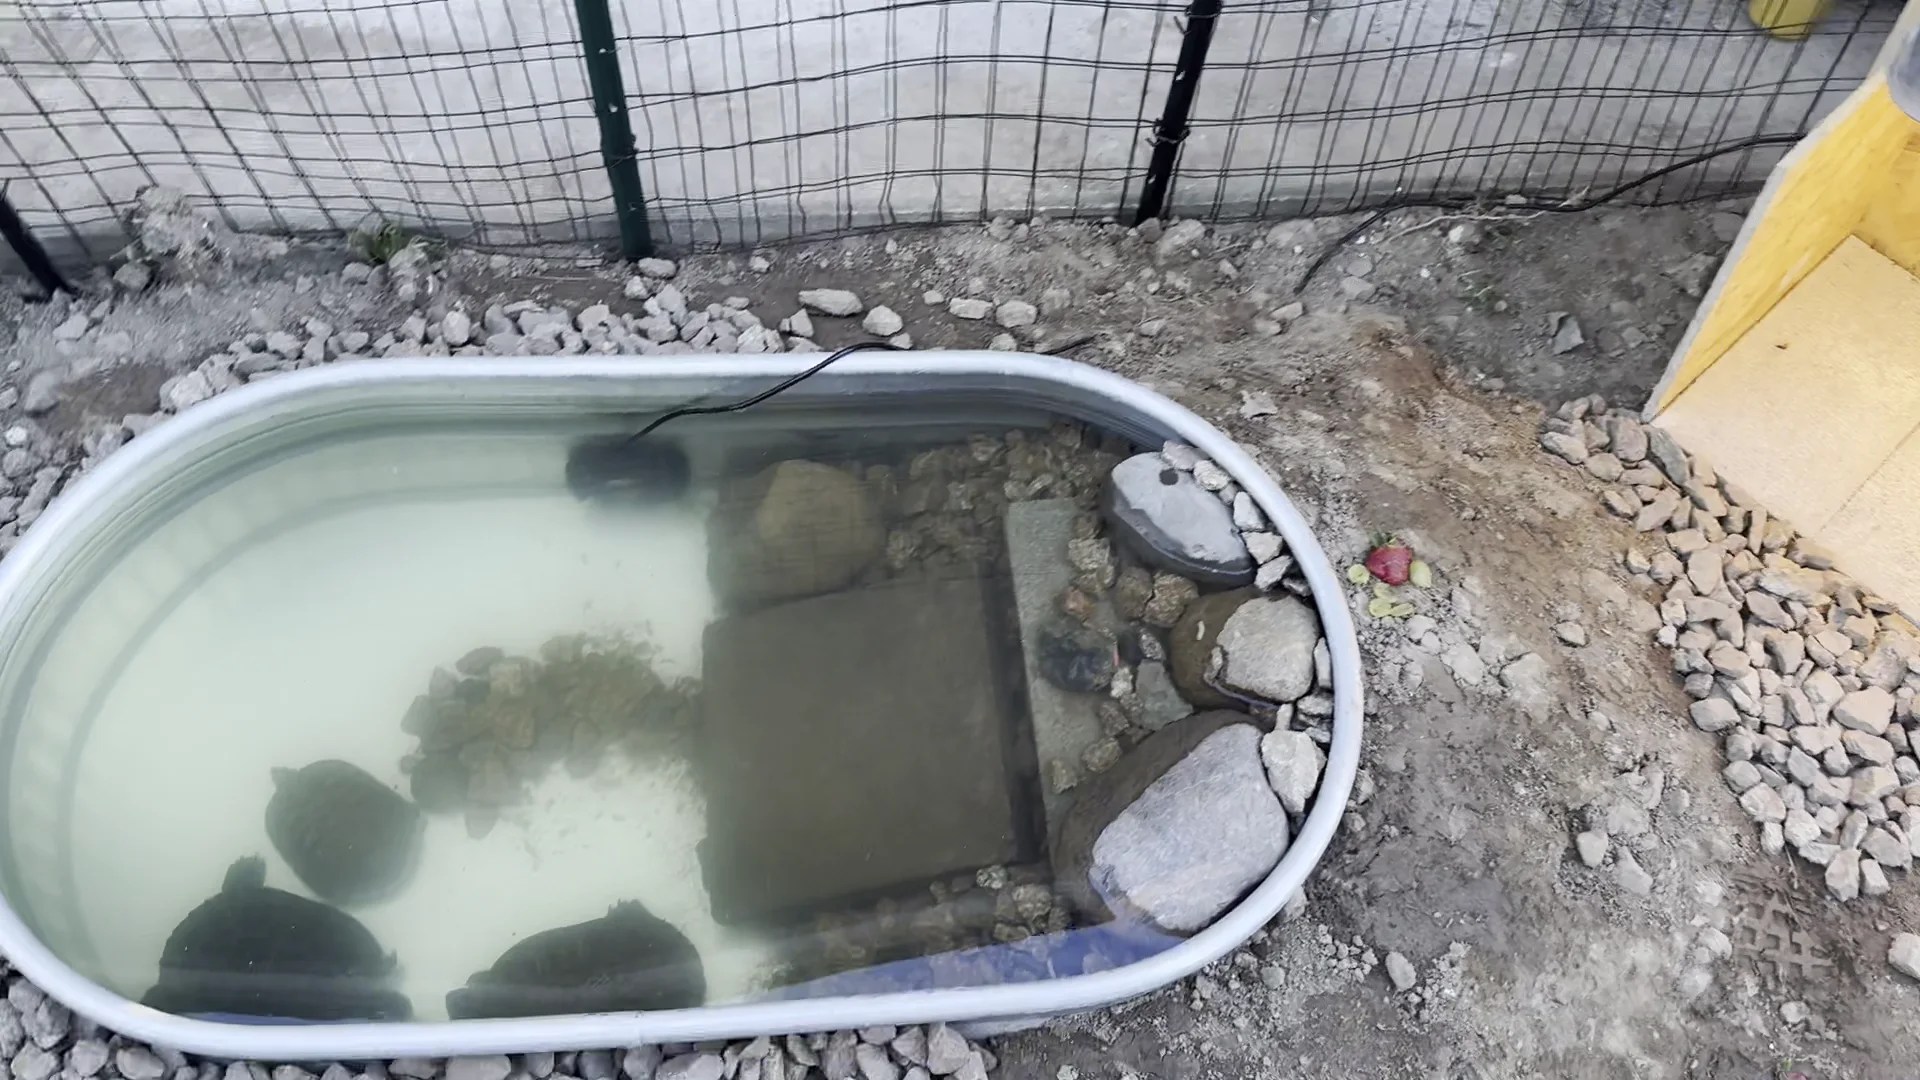
- 02Dug out space and installed the stock-tank trough.
- 03Added blocks and started shaping the pond area.
- 04Built the wooden basking box.
- 05Filled the pond and introduced the turtles.
- 06Added and adjusted the ramp.
- 07Installed fencing around the enclosure.
- 08Added larger rocks and landscaping.
- 09Kept making adjustments after seeing how the turtles actually used the habitat.
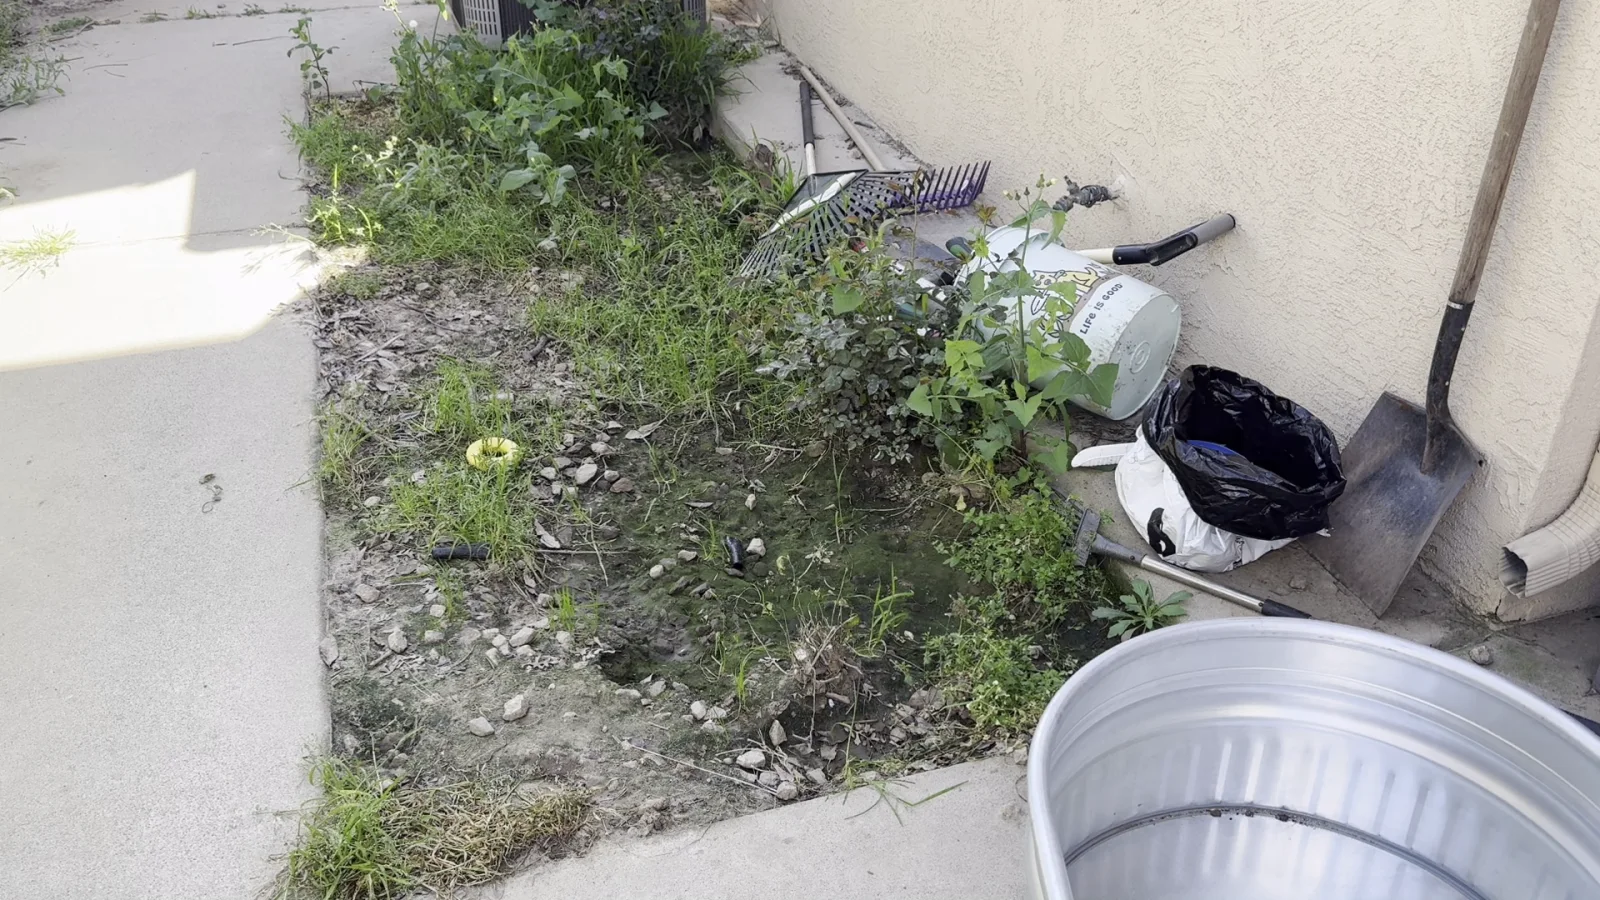
The original area before clearing and construction began.
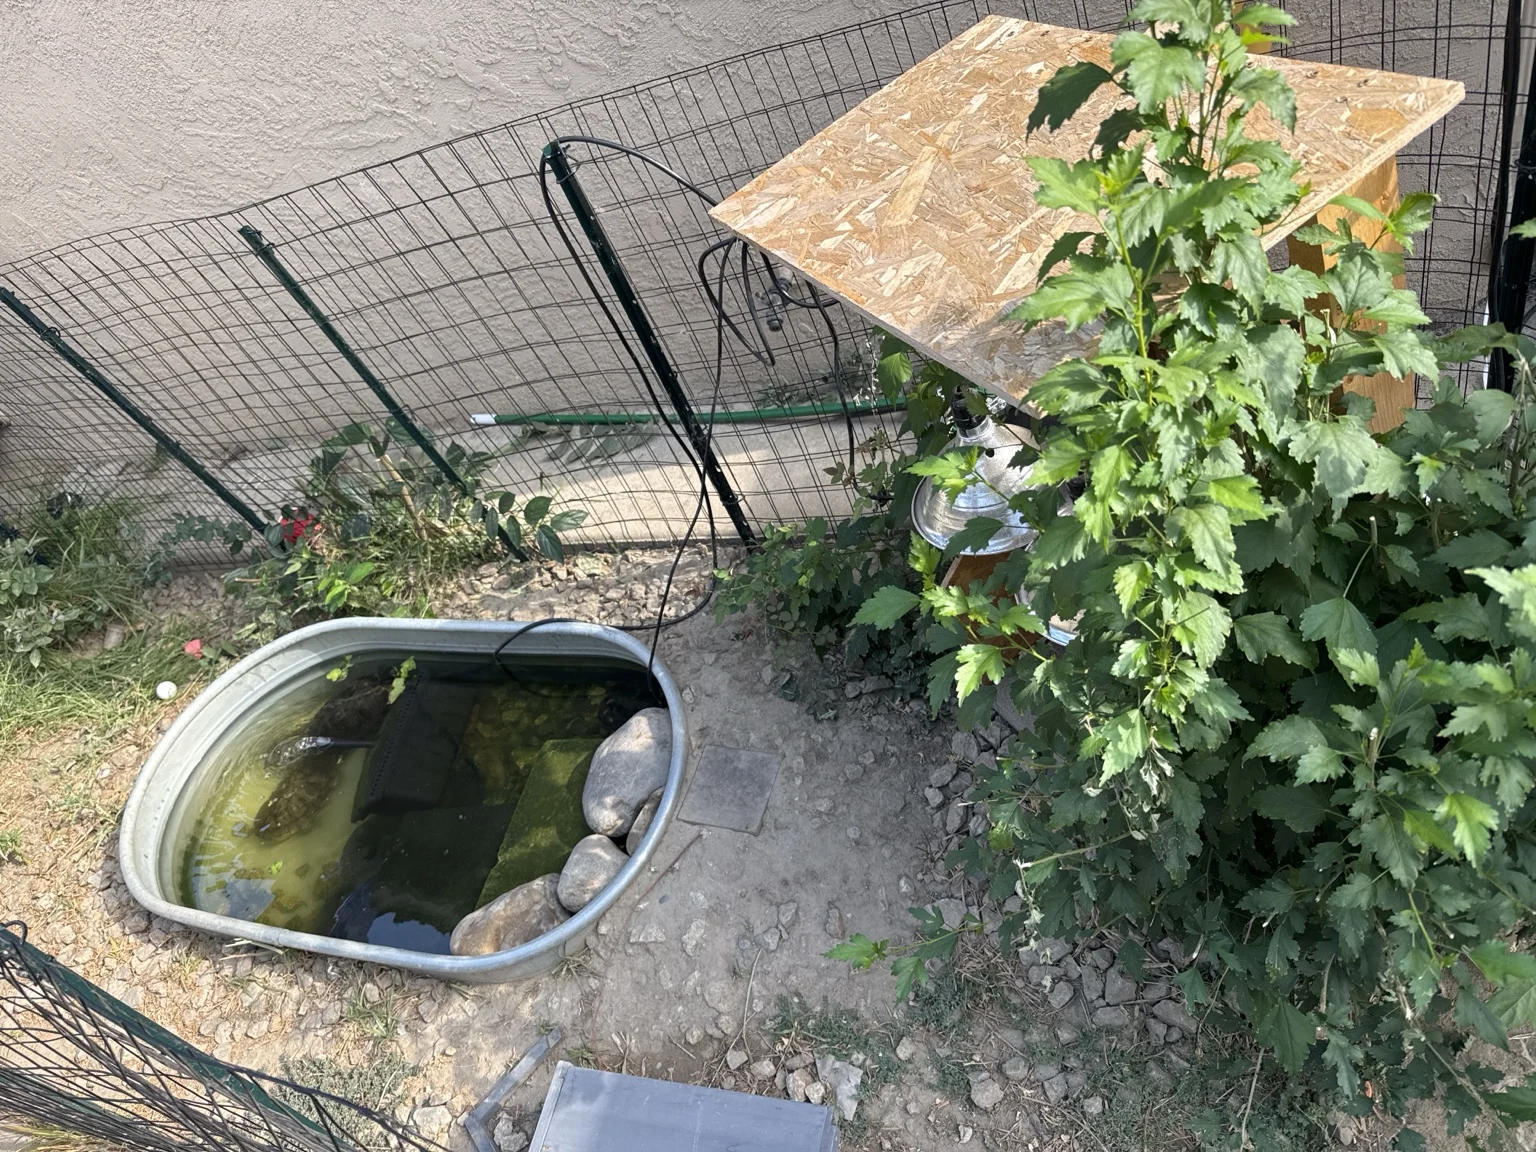
The completed first version of the outdoor turtle enclosure.
From the project
Photos and videos.
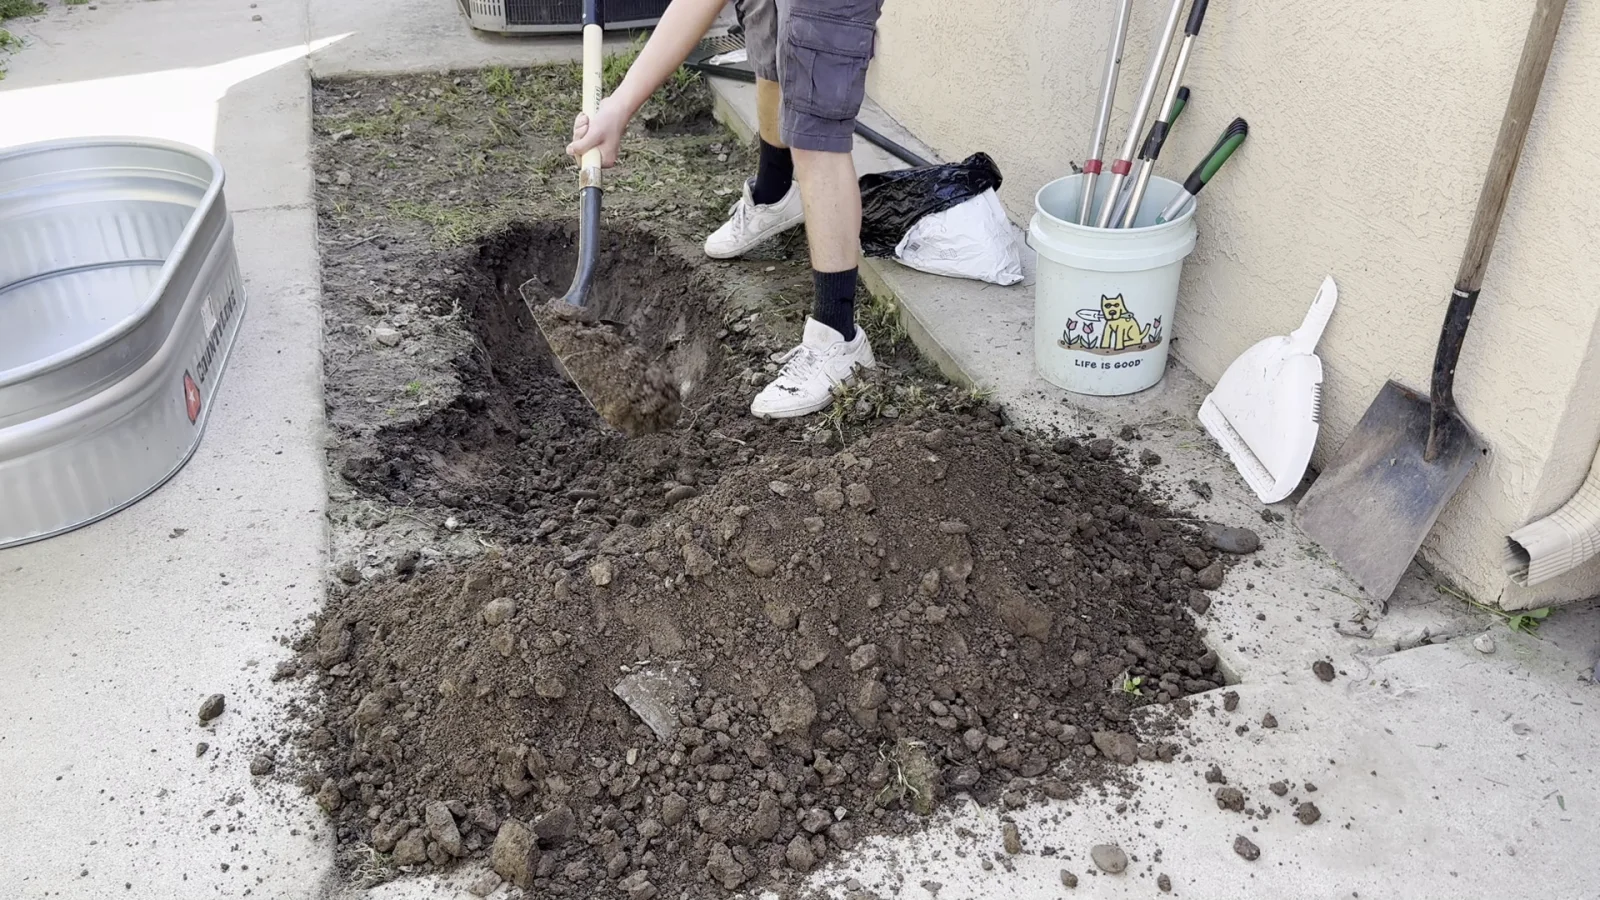
Clearing the area and digging out the space for the enclosure.
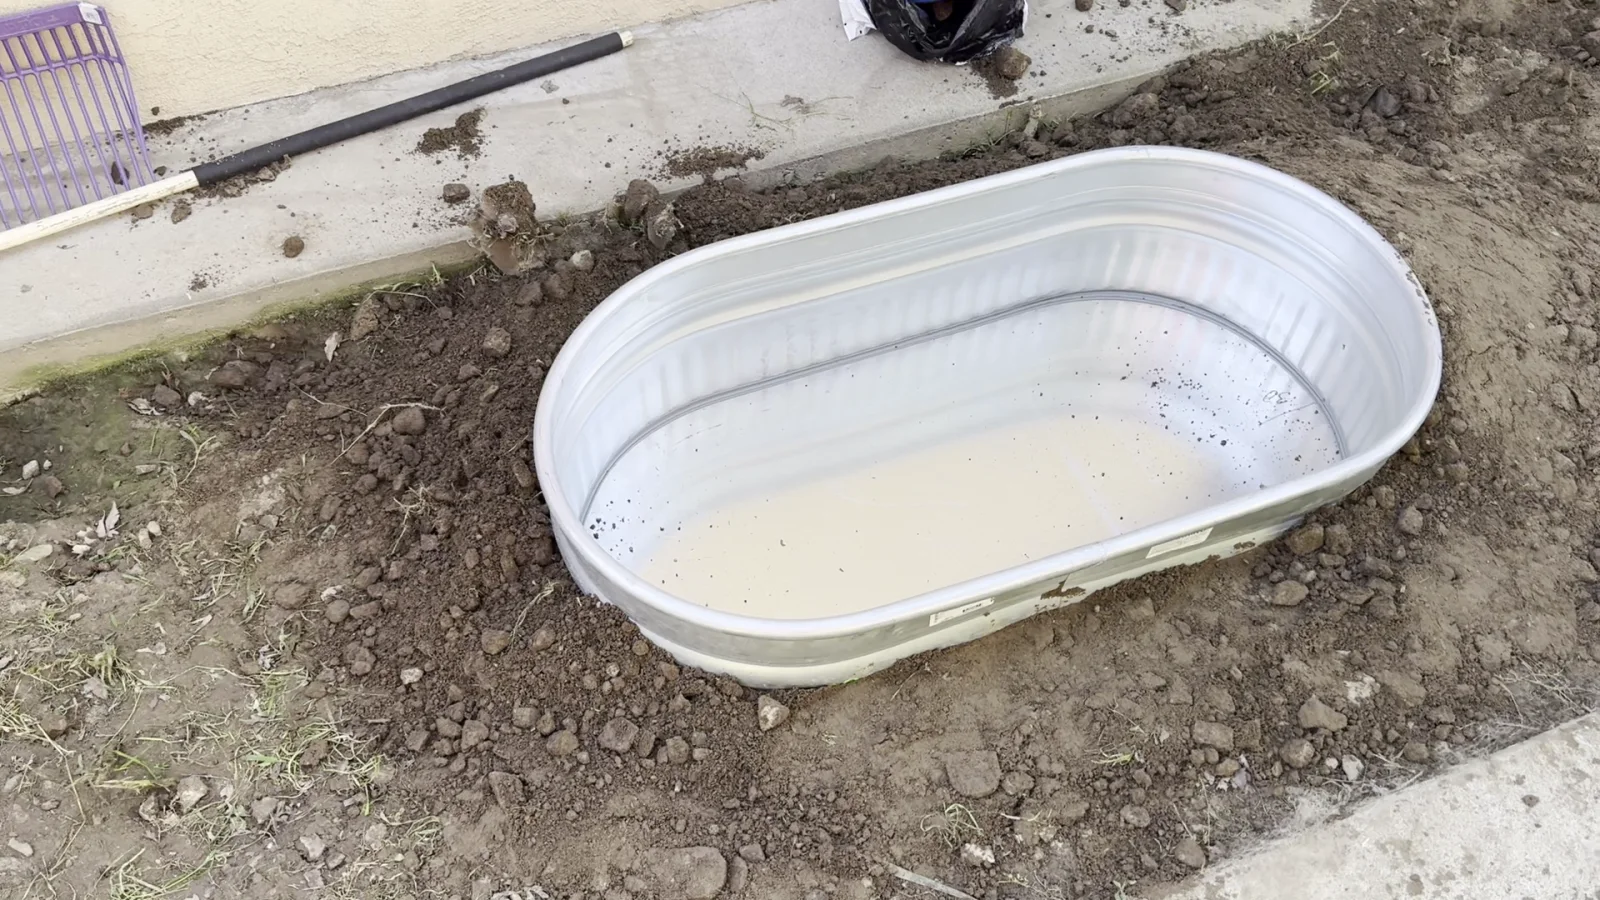
The trough set into the prepared area.
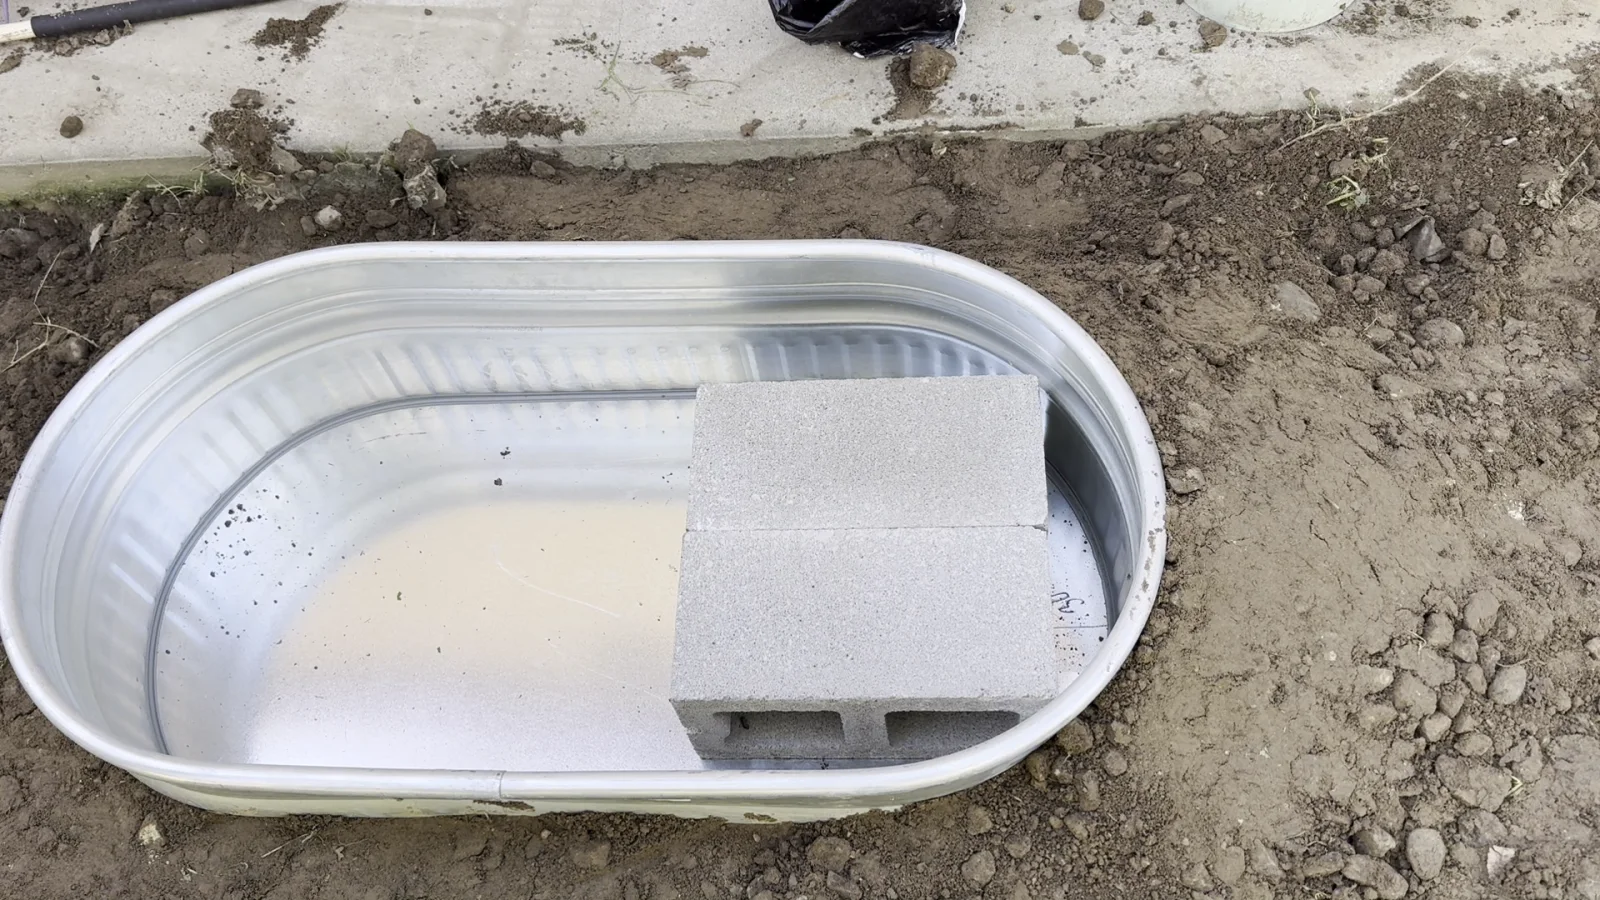
Blocks being positioned inside the trough.
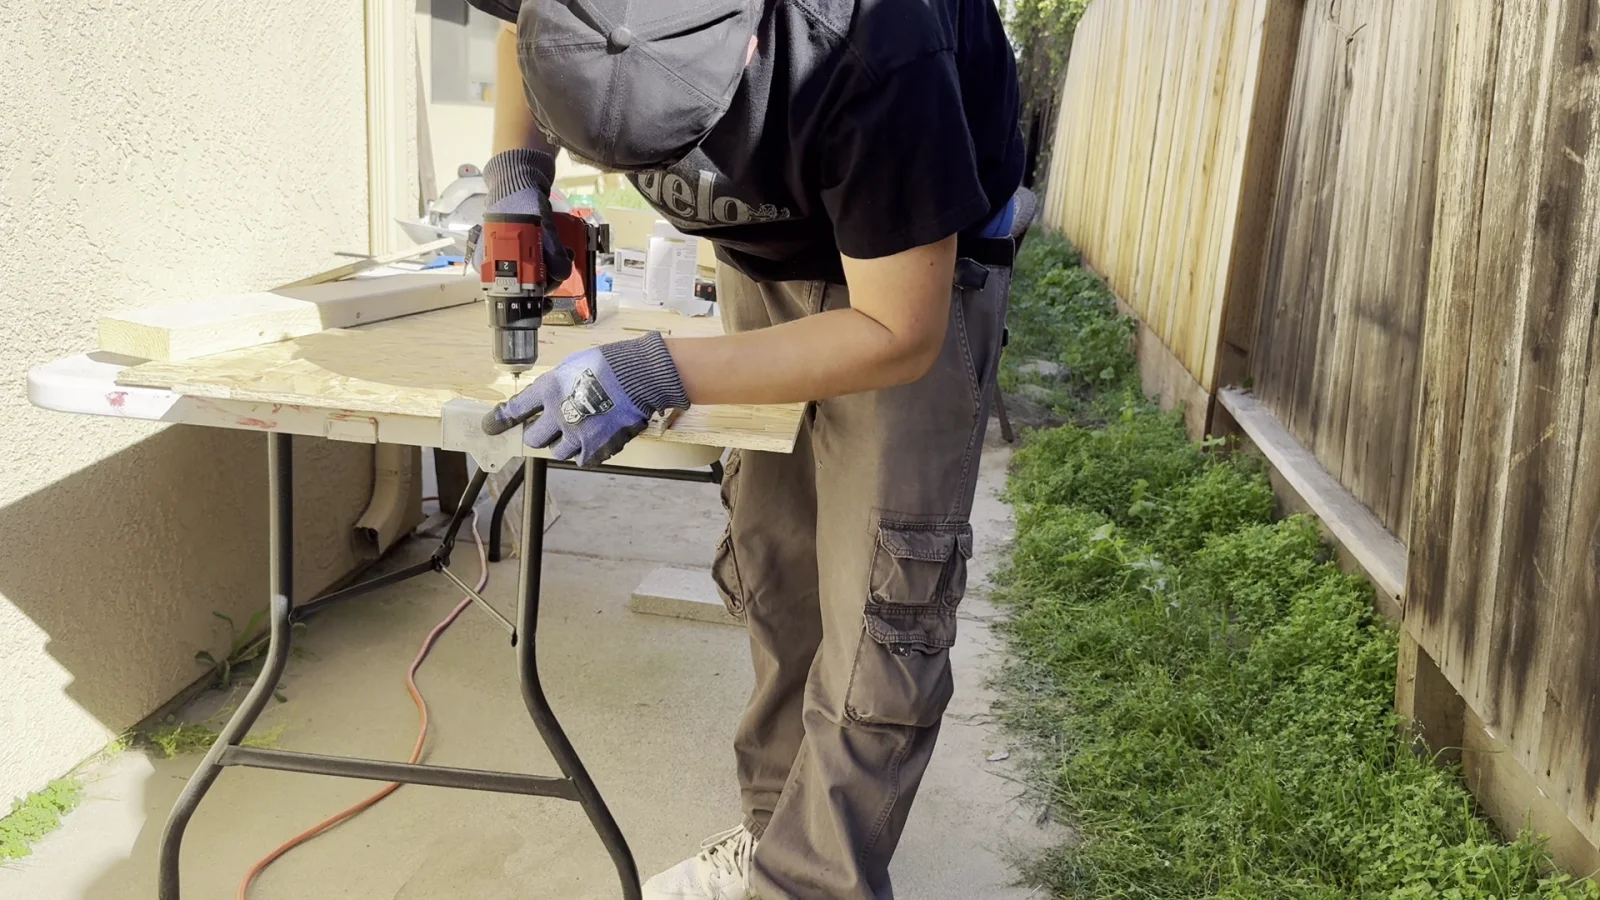
Building the basking box beside the enclosure area.
Adding water after the trough and base were in place.
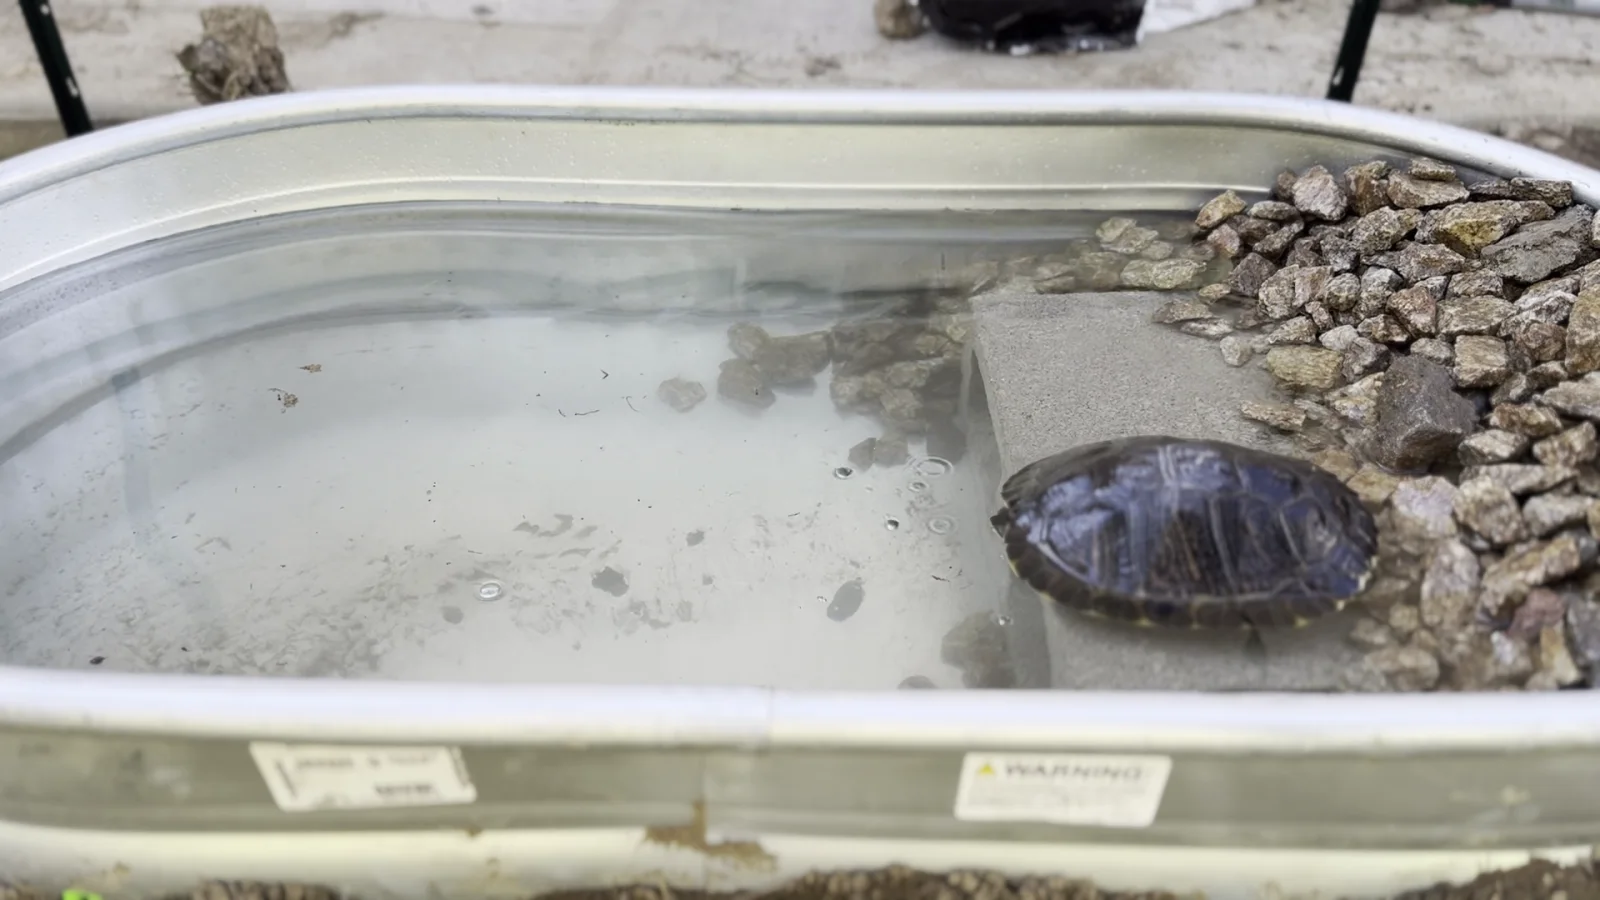
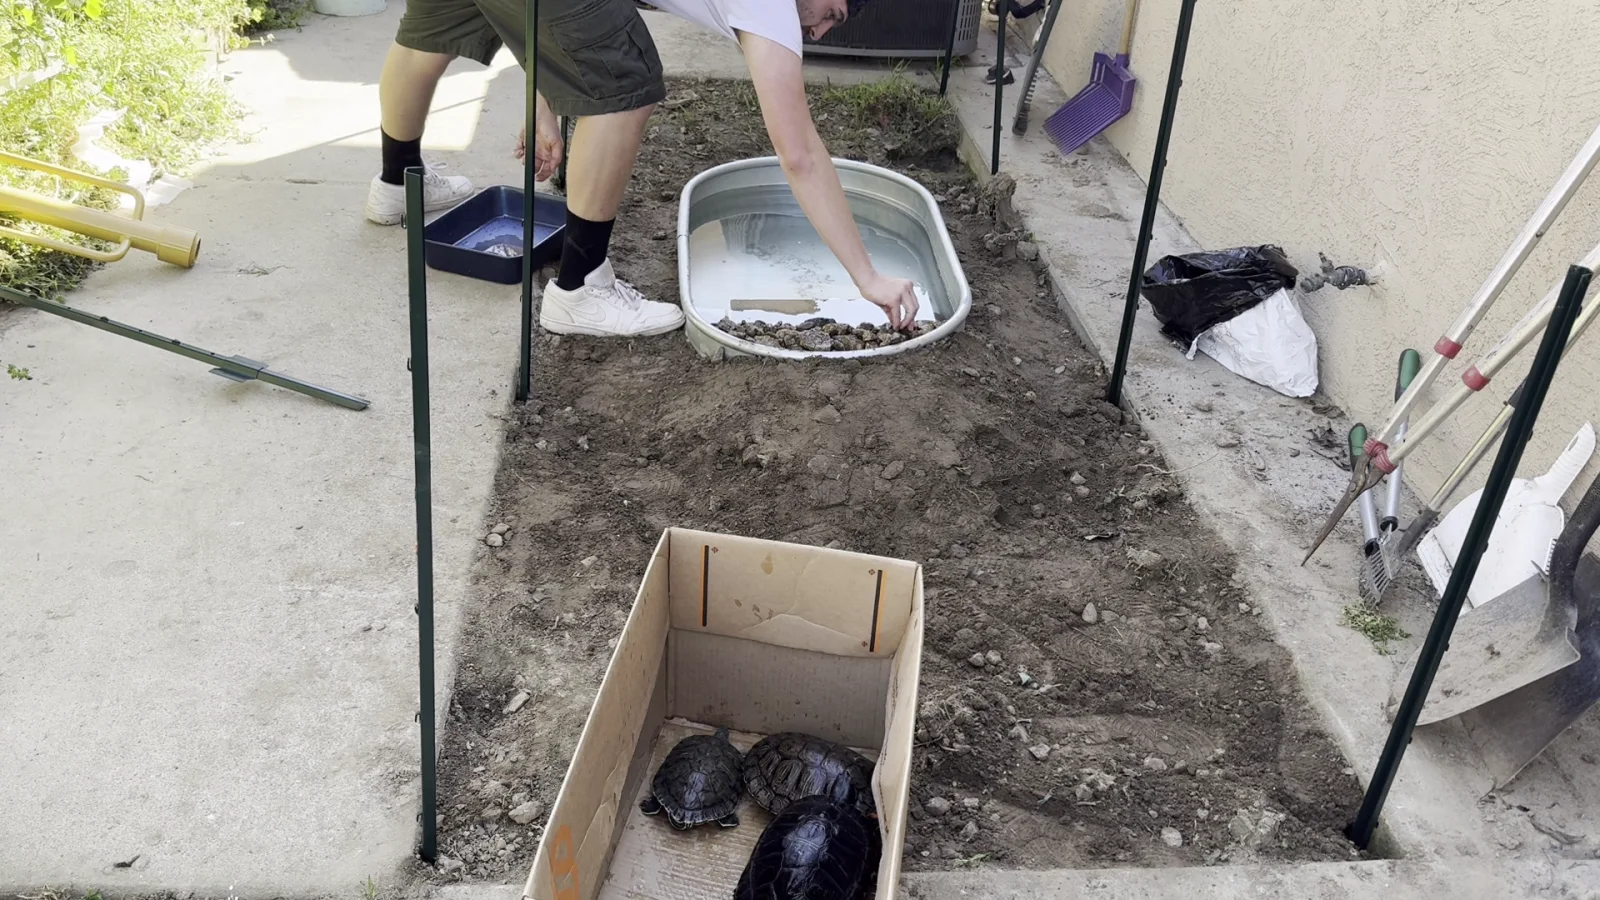
Introducing a turtle to the new water area.
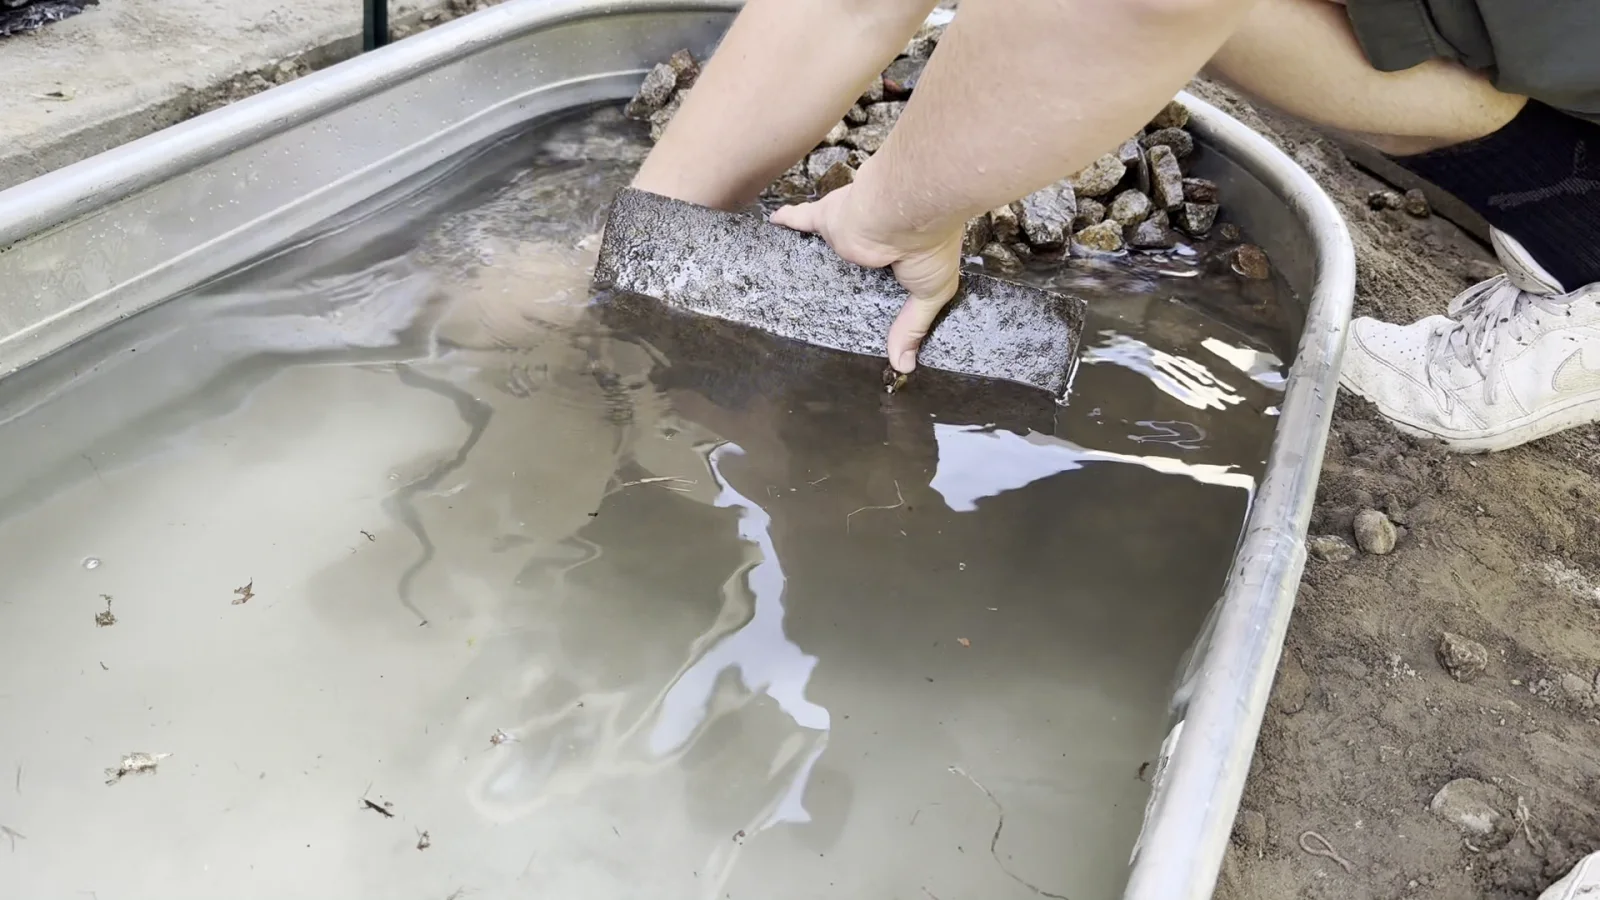
Adjusting the ramp inside the trough.
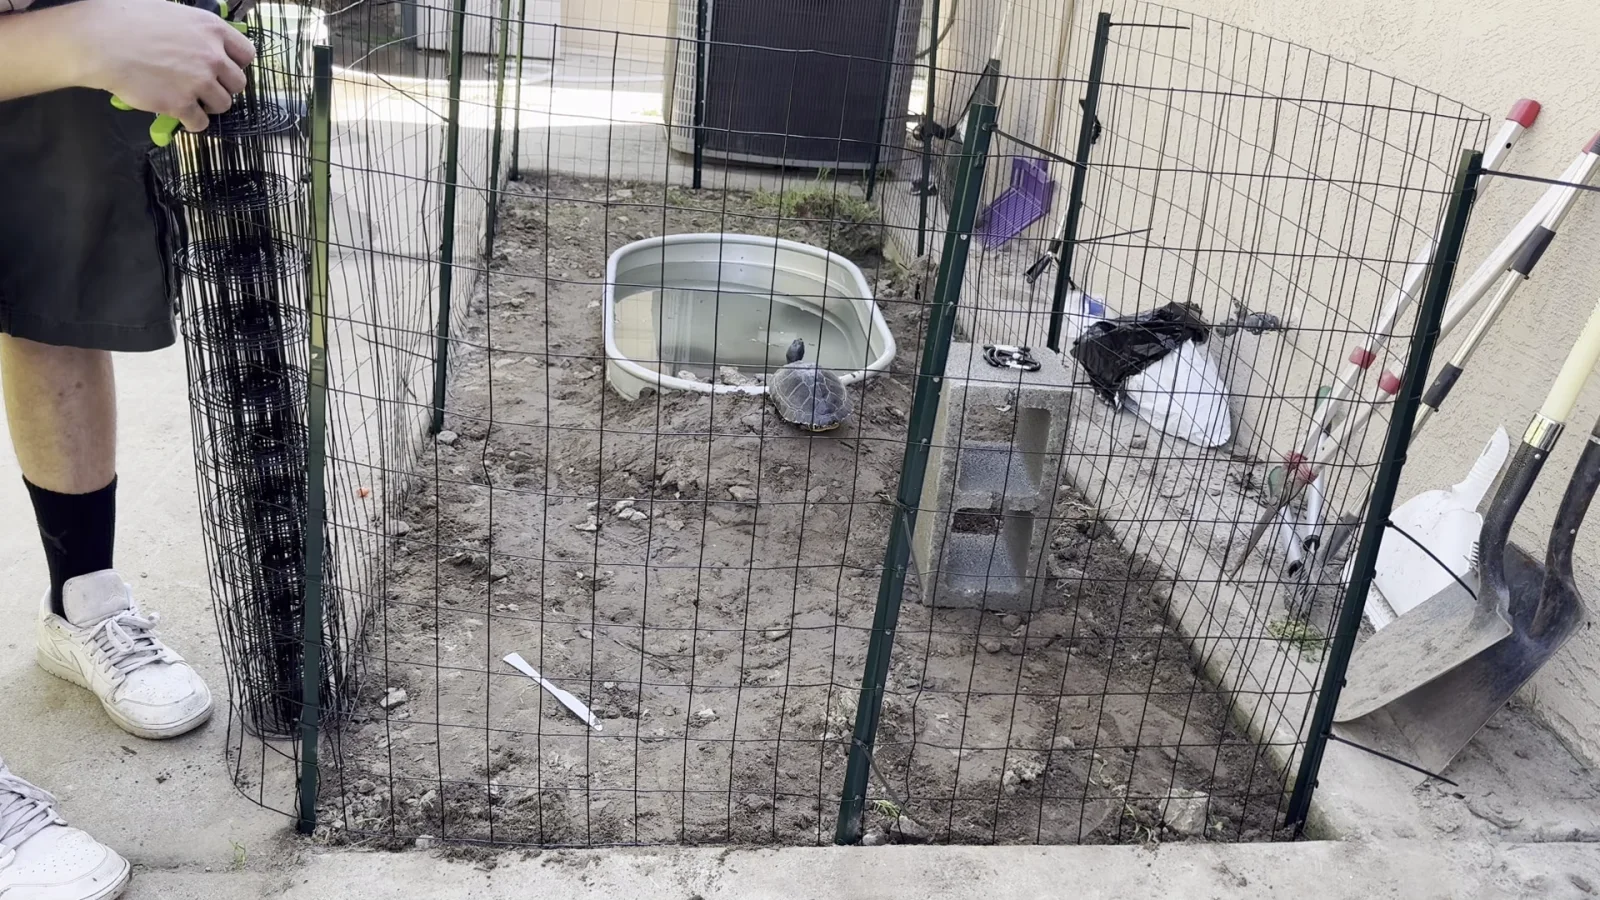
Adding the wire around the enclosure.
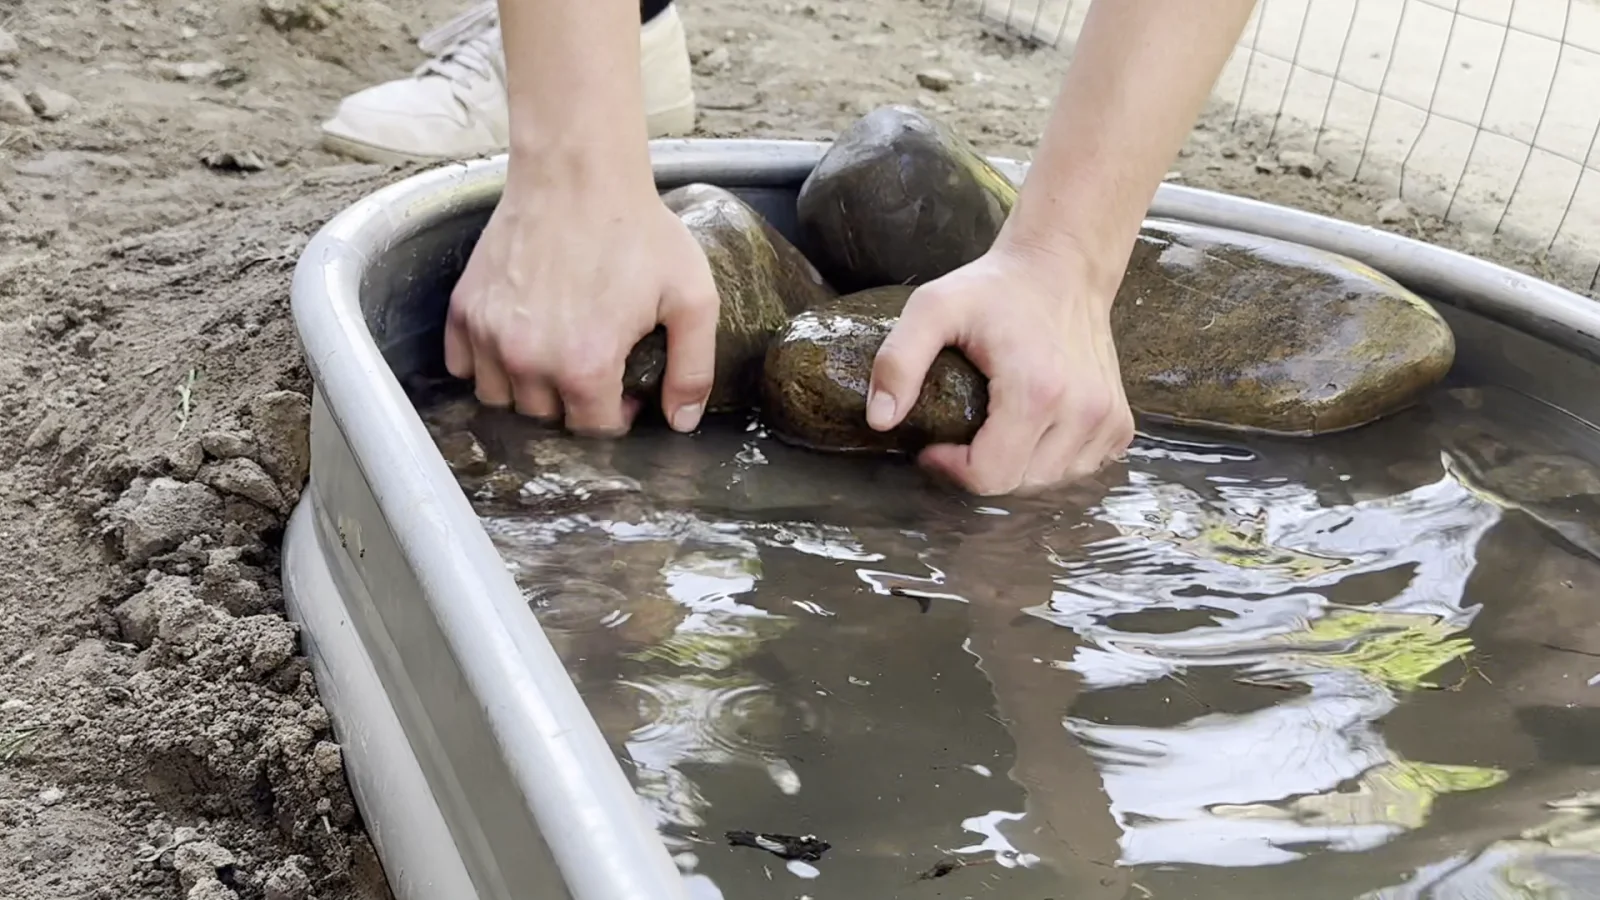
Adding larger rocks around the water edge.
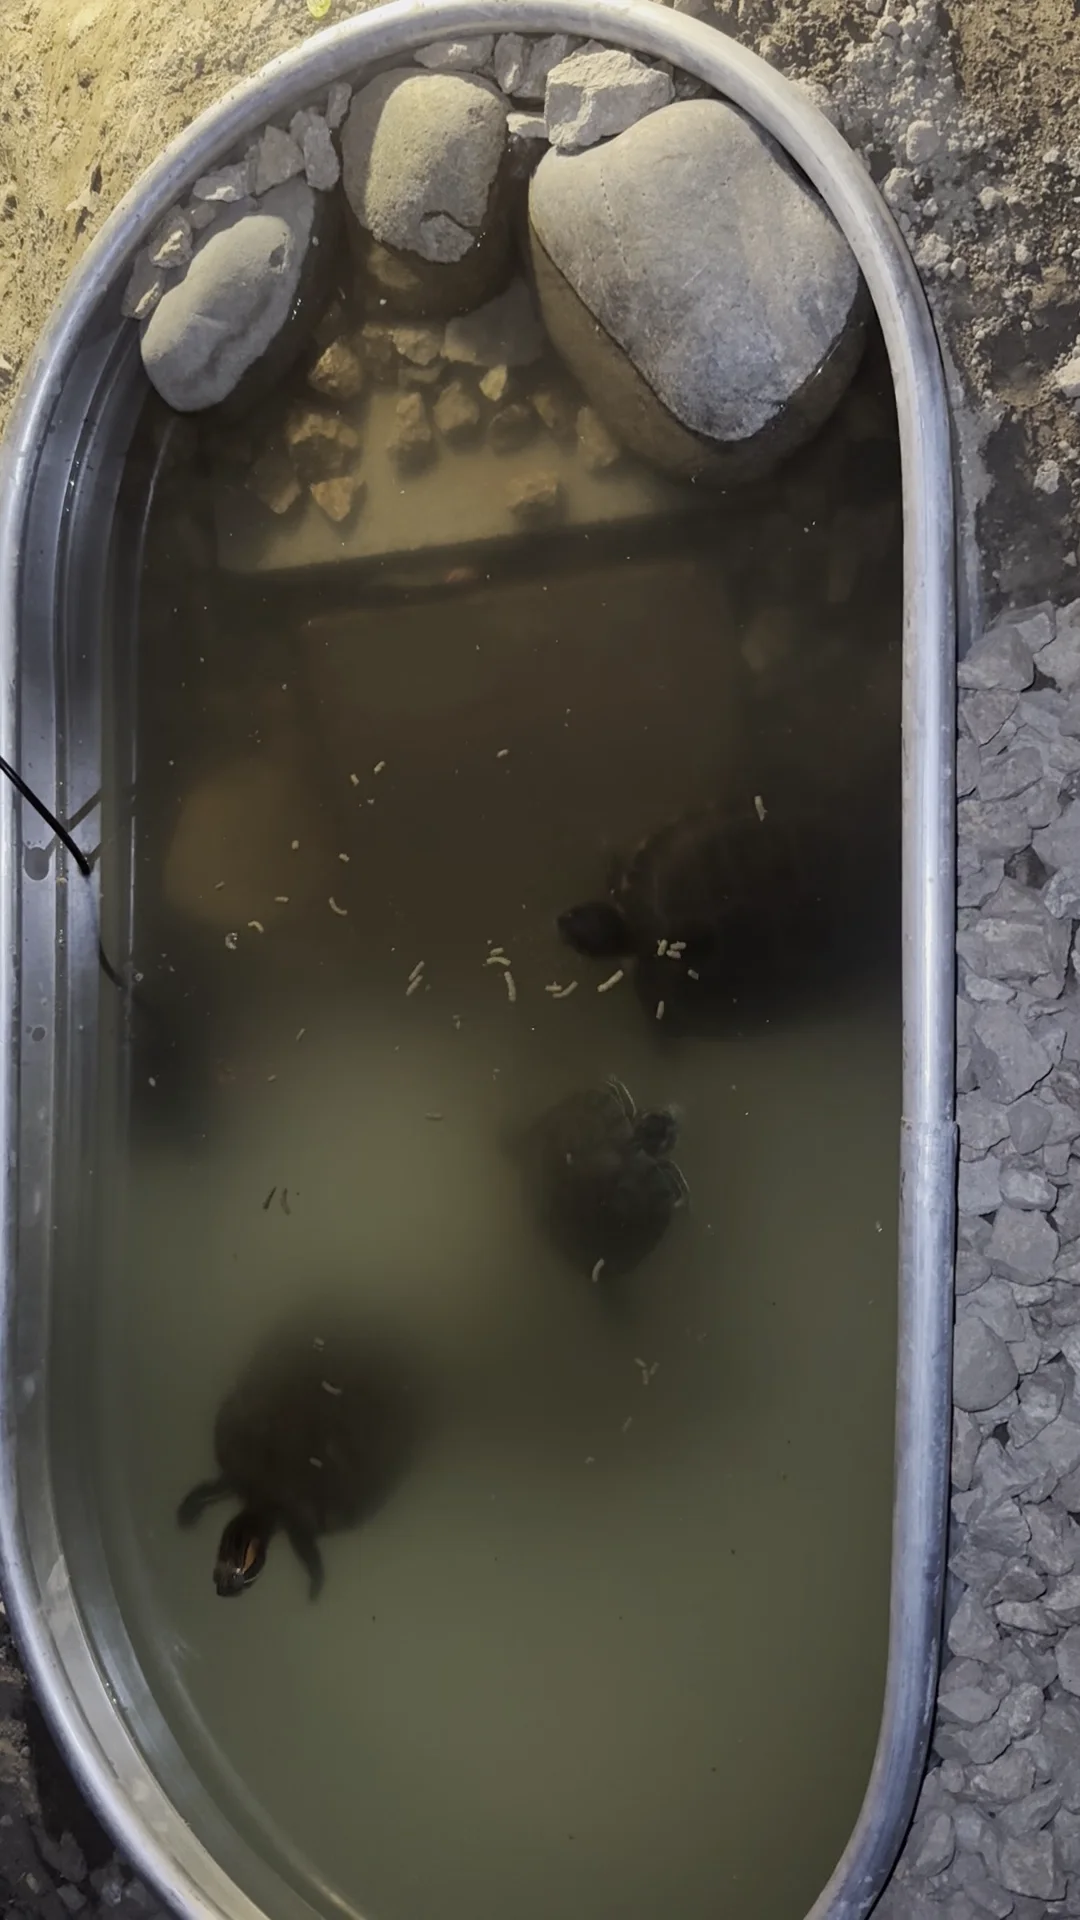
The turtles using the finished enclosure during the first feeding.
Materials
- Stock-tank/trough pond
- Wood and OSB for the basking box
- Wire fencing and garden stakes
- Concrete and landscape blocks
- Rocks
- Heat and basking lamp
- UV light bar for supplemental winter UV
- Existing outdoor space beside the house
Final result
The current result.
Version 1 is complete and gives the turtles more room to swim, bask, and move between the water and land. I kept adjusting it after the first build, and the next version will expand both the pond and the usable land area.
Skills I used
What this one called for.
What I learned
What I took from it.
- The biggest lesson was that an animal habitat changes once I see how the animals actually use it. Parts that looked good during construction still needed adjustment afterward, especially access between the water and land areas. Building Version 1 gave me a much better idea of what I want to improve next.
Along the way
Updates and lessons.
Published the original turtle enclosure build video
I published the video from the first outdoor turtle enclosure build.
Watch the video ↗Connected work
Other versions and related projects
 PlanningCurrently Documenting
DIY & Builds · Planning · Date not set
Turtle Pond V2 / Turtle Mansion
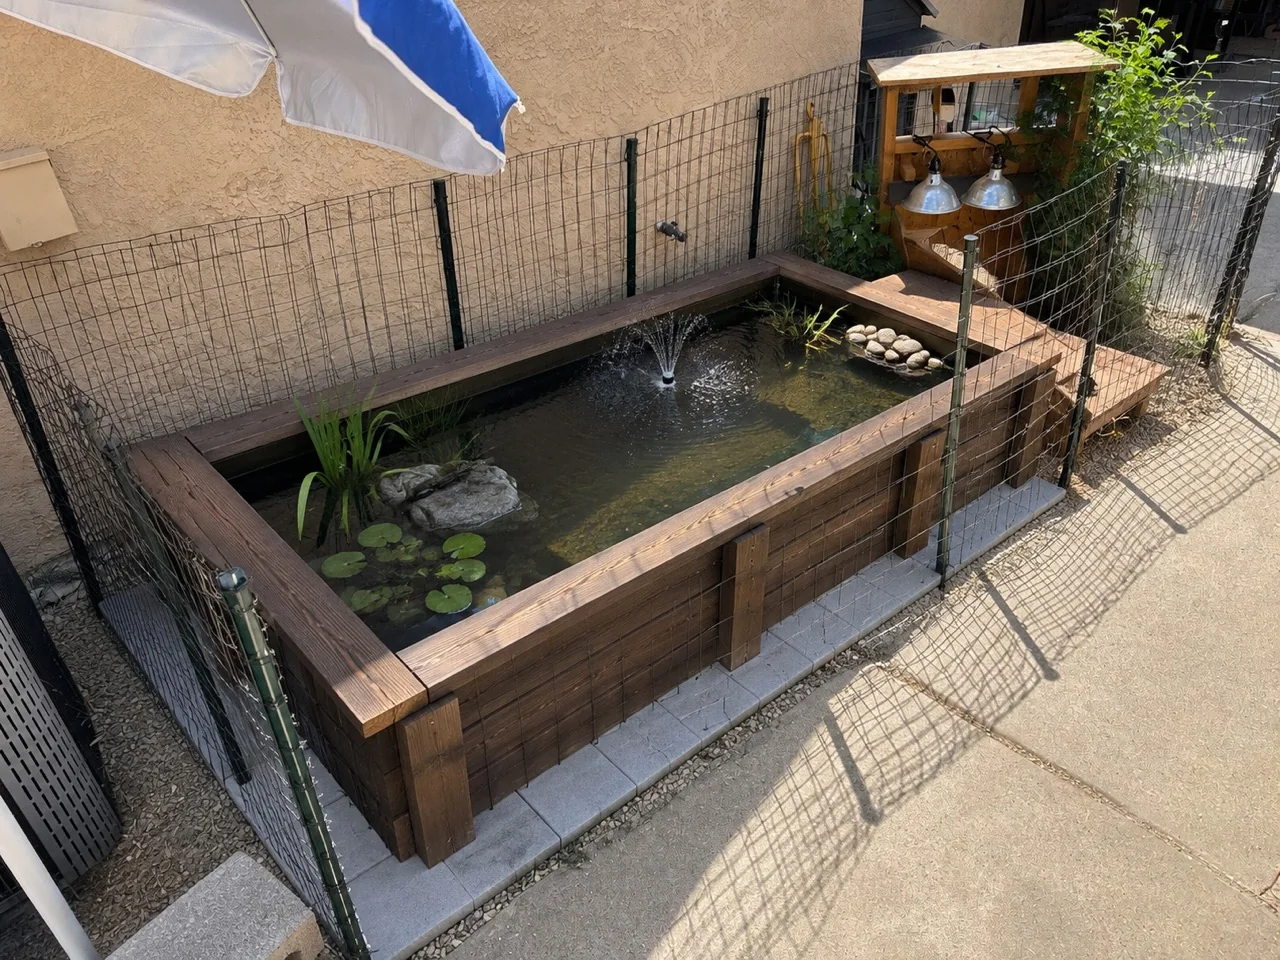
The current stock-tank pond worked as a temporary setup, but roughly 40–50 gallons is far too small for three adult turtles. Turtle Pond V2, the Turtle Mansion, will replace it with an approximately 4 × 7 ft raised wooden pond with roughly 350–400 gallons of finished capacity. The goal is a much larger, permanent habitat with more swimming space, better filtration, and a clean built-in look that fits the existing enclosure.
Read the project →On video
Videos from this project.
 ▶
▶Build Video · Mar 2026
We Got Turtles… So I Built This for Them
My original video from the first outdoor turtle enclosure build.